Setup and software installation
Contents
1. Setup and software installation#
1.1. Storage requirements#
You will need at least 2 GB free on your computer’s hard drive.
1.2. Sign up for a GitHub account#
Github is a popular remote repository hosting service. This is a way to store and share version controlled software off of your computer. We will be using it in this class to distribute and turn in assignments. Sign up for an account, if you do not already have one.
1.3. Install Miniconda#
What is Miniconda?#
Anaconda is a popular distribution of Python and a set of programs built specifically for data science. Miniconda is stripped-down version of Anaconda. We will use Miniconda, and add additional programs manually, so that it does not take up as much space on your computer. Miniconda includes:
Python: Programming language (we’ll be using version 3.13)
Conda: Package manager
Conda is a package manager. It maintains the directories (folder pathways) and versions of external (non-default) python packages. A package is a set of Python tools designed for a specific purpose. Some of these are included with Python, but others have to be downloaded from an external source.
If you have Anaconda or Miniconda already installed#
Attention
If you have Anaconda or Miniconda already installed on your computer, follow the steps below. If not, move on to Miniconda installation.
First run Python and check which version you have. The version number is displayed when Python starts up.
To maintain consistency, we will be using Python version 3.13 in this class. Previous versions of Python 3.x will work most of the time in classroom demonstrations and other course materials, but you may run into a few cases where certain commands are invalid or not available. Python 2.x is completely incompatible with this course material. If your version is already 3.13, and you are fine with installing additional packages to your existing version, proceed to installing additional tools.
If you have a different version of Python, you have two options:
Uninstall the previous installation. Note that option 2 below may be better if you already have Python code that you want to keep running on the same version of Python. If you choose option 1, find the uninstall instructions for your operating system at https://conda.io/projects/conda/en/latest/user-guide/install/index.html#regular-installation. Restart your terminal and proceed with the Miniconda installation steps below.
Advanced: Create a new environment for this class.
Option 2 will allow you to use the same Python version and packages used in the course material, without altering your existing setup. For more information on environments, see https://conda.io/docs/user-guide/tasks/manage-environments.html
Open a terminal (Mac) or Anaconda prompt (Windows) and type:
conda create --name data-26
You can replace data-26 with any name you like for your environment. To enter the new environment, type:
conda activate data-26
Note
To access the environment you just created at later time, you will have to repeat this command whenever you start a new terminal or Anaconda prompt.
Keep this window open and proceed to Installing additional tools
Miniconda installation#
Scroll down to Miniconda installers, download the appropriate installer for your operating system and run. The default options will be fine.
Note
Mac users: There are different options for installers. Download the graphical installer (.pkg file) for the processor on your Mac (Intel for older Macs and Apple M1 for newer Macs) and click on it. If you don’t know what type of processor you have, see this guide.
Open a terminal or command prompt#
Windows instructions#
After installing Miniconda, open the program ”Anaconda Prompt”
You might have to search for this in the start menu.
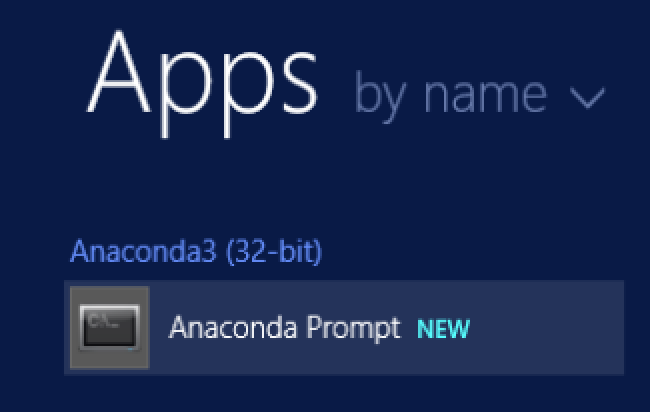
Clicking Anaconda Prompt will bring up a screen where you can type commands. Keep this window open and follow the steps under Installing additional tools
Mac instructions#
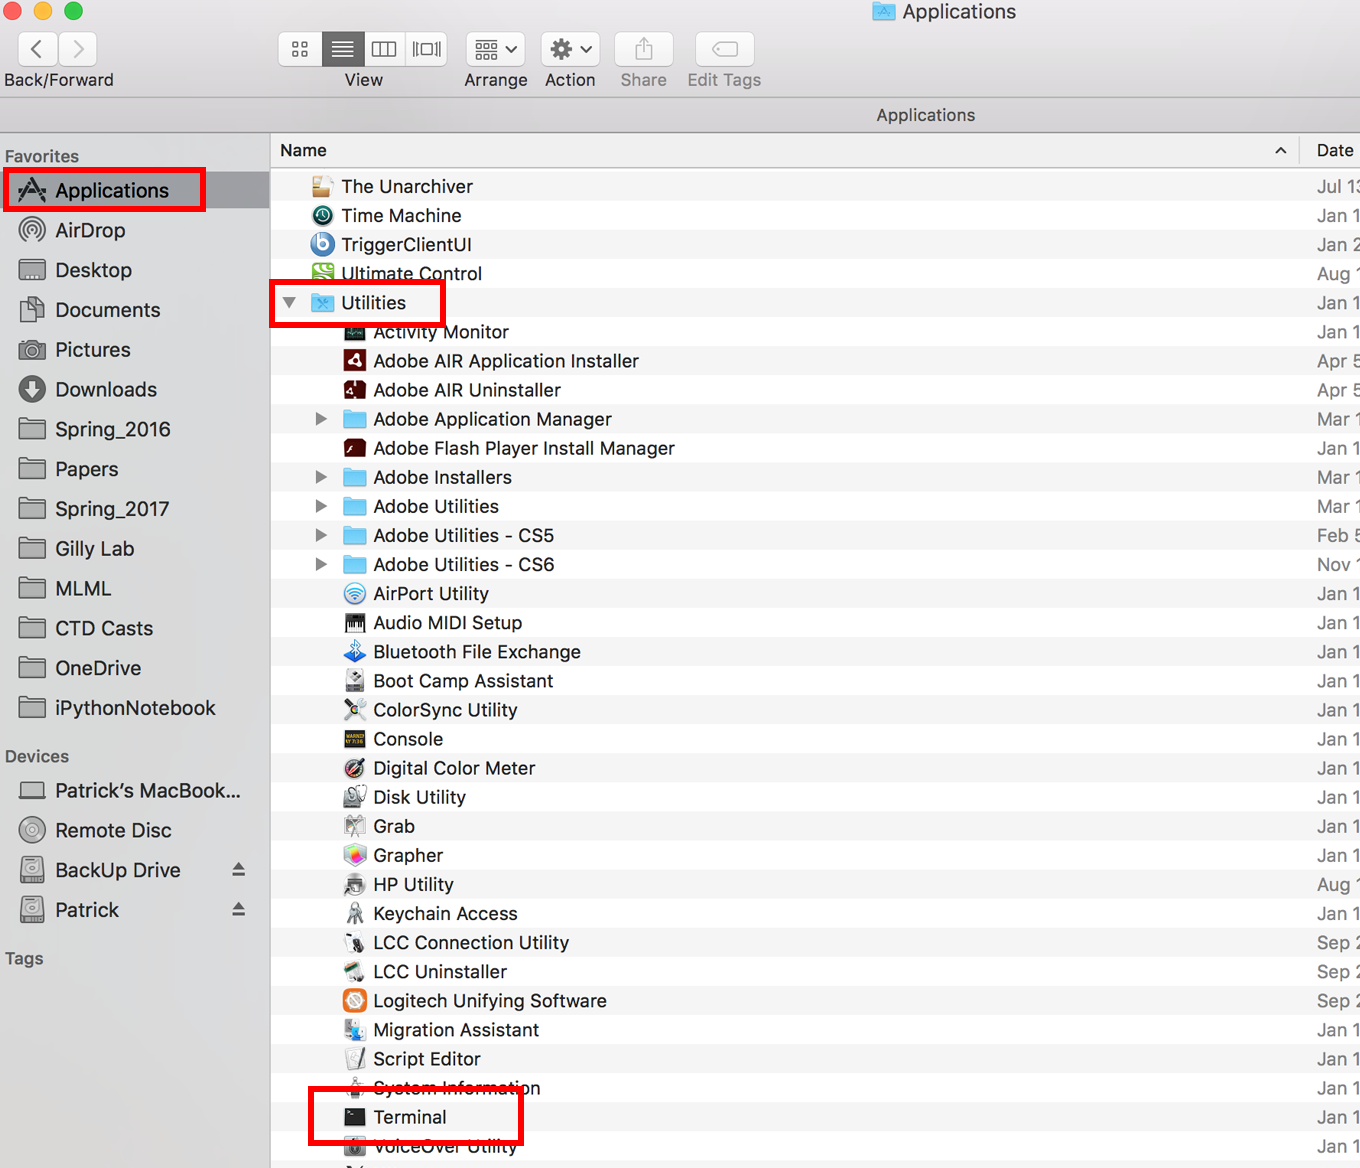
After installing Miniconda, open the program ”Terminal”
This is located in Applications -> Utilities
Or you can search for “Terminal” in the spotlight (use press cmd-space).
This will bring up a screen where you can type commands. Continue to the next section on Installing additional tools using conda
1.4. Installing additional tools#
Now that you have a command line open, type these commands to install additional programs and Python packages that we will use throughout the semester.
First, add the “conda-forge” channel as a source for obtaining packages. This is a community-driven project that makes sure that none of the packages you download conflict with each other. Type (or copy and paste) the following on the command line and press Enter:
conda config --add channels conda-forge
Now, now you will install the additional programs and Python packages. This will take a while.
Note
This command below is very long and probably extends beyond the width of your browser; the easiest way to copy it is to click the “copy” button that appears when you hover the cursor over the right side of the text box.
Copy and paste the following onto the command line and press Enter:
conda install jupyter jupyterlab matplotlib pandas seaborn xarray netCDF4 cartopy cmocean gsw scikit-image scikit-learn statsmodels uncertainties pingouin nb_conda_kernels ipympl openpyxl autograd PyCO2SYS glidertools pykrige
Here, conda is the name of the package management program and install is a command given to this program, followed by the names of programs to install.
1.5. Install Git#
Git is version control system that is commonly used in developing software projects. Enter this command:
conda install git
Choose the default options if prompted to make selections. If for some reason that method of installing Git does not work, you can download and install Git for your operating system by following the instructions at https://git-scm.com
Windows only: Git Bash command line#
Check to make sure that you can open the Git Bash command prompt. You should be able to find Git Bash in the list of programs when you open the Windows Start menu. It may be listed under the heading Anaconda3.
1.6. Open a text editor from the command line#
Make sure that you can open a text editor from the command line. Open the Terminal application (Mac) or Git Bash (Windows).
Nano#
First, try the Nano text editor:
nano
This brings up a text editor in the terminal window. Enter Control-X to exit Nano. If that worked, then proceed to Setup for Unix shell tutorial
System default text editor#
You can also try the default text editor for your operating system.
TextEdit (Mac)#
open -e
Notepad (Windows)#
notepad
1.7. Setup for Unix shell tutorial#
On the first day of our data analysis course, we go through parts of the Software Carpentry Unix shell tutorial. Software Carpentry is an organization that develops lessons and workshops to teach skills in research computing.
You will need to download some files to follow this lesson. To prepare for this lesson, follow the steps listed under “download files” (you have already installed all of the necessary software).